Adding multiple images to a job
Attaching photos, videos, documents and capturing customer signatures is often crucial when updating a job. It can show what was done as well as show before and after shots.
Find out more about our image upload features.
Sometimes you may have a lot of images or attachments, with Okappy, you can now upload multiple images and attachments in one go. Read on to find out more.
Add multiple images or videos to your job
From within the app,
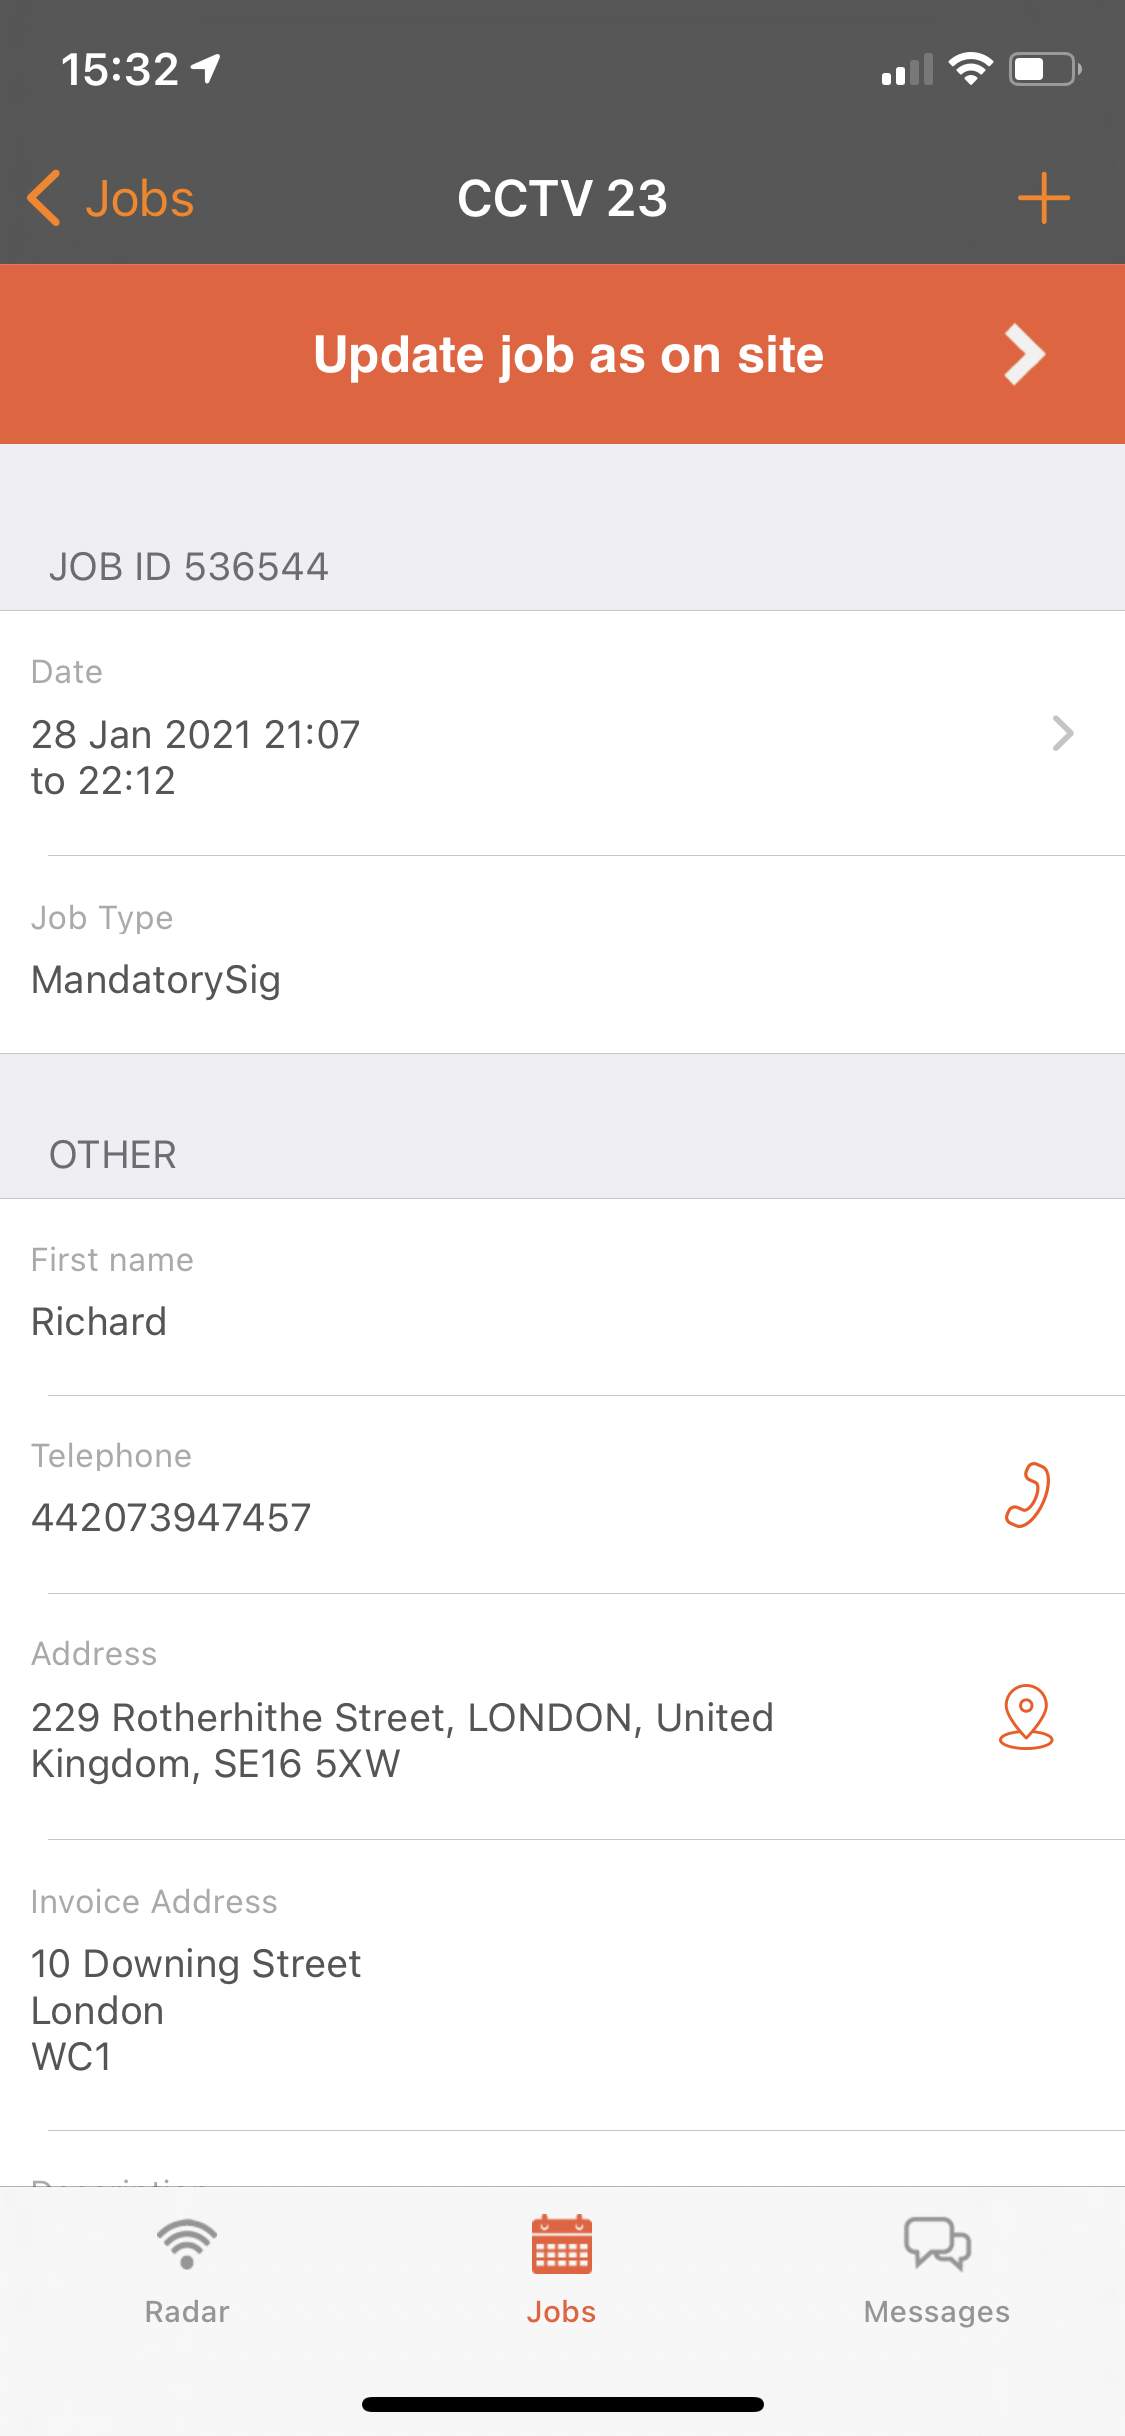
- go into the job

- Click the Plus icon towards the top right of the screen

- Click Add image/video

- Click Select photo/video to attach existing image(s) or video(s) from your device’s photo roll.
- Select the photos or videos that you want to upload. You can upload a maximum of 10 at a time.
- Once you have selected the relevant photos or videos, click Add
- You can add a title to each image and video which is being uploaded.
- Click Yes after you have added a title for each
- You’re images and attachments will be uploaded.
- Click OK

Notes:
- Please be aware that larger image or video files carry a higher risk of upload failure. We suggest keeping videos to 10 seconds or less.
- To ensure successful upload of images and videos, please keep the app open and maintain a stable network connection.
Additional upload settings
To ensure your images and videos are available, different settings are available to give control over how your images and videos are uploaded.
To open the settings,
- click the Okappy icon towards the top right of the screen
- Click More

Select Job settings

Choose from the following options:
- Save to photo roll – you can automatically store a backup of the image or video in your photo roll, ask each time or don’t save at all.
- Save images in high resolution – ensure this is not ticked if your photos are taking a long time to upload, or if the resultant job sheet is large
- Queue images in background – check this if you want to be able to carry on with your work whilst the app uploads the images in the background.
Please note, when using the option to queue images in the background. If the app is closed it has no control over when the images are actually uploaded. The operating system decides when the image will be uploaded depending on network, power and other factors.
Add multiple images or videos to your job
Notes:
- Being able to select multiple images depends on your Android version and File picker app. If you cannot select multiple files, you will need to download and use a different file picker app i.e., Files by Google.
- If you prefer to have the images named for easier identification and reference, this can be achieved by renaming the files within your file manager prior to uploading them to Okappy. The process for renaming files may vary depending on the file manager or operating system you are using.
From within the app,
- go into the job

- Click the Okappy icon towards the top left of the screen

- Click Add document
- Click Choose Files,
- Select either Photo Library or Choose Files

- Click the images or videos that you want to upload
- Click Add.
- Click Done.
The images and videos will be uploaded to the job.
Notes:
- Please be aware that larger image or video files carry a higher risk of upload failure. We suggest keeping videos to 10 seconds or less.
- To ensure successful upload of images and videos, please keep the app open and maintain a stable network connection.
Additional settings
To ensure your images and videos are available, different settings are available to give control over how your images and videos are uploaded.
To open the settings,
- click the Okappy icon towards the top left of the screen,
- Click More.

Select Job settings

Choose whether to save images in high resolution – ensure this is not ticked if your photos are taking a long time to upload or if the resultant job sheet is large.
Click Update settings.
Add documents
You can add documents and other files to your job (including videos and images).
From the jobs dashboard,
- Click the three dots menu next to the relevant job

- Click Add document
- Drag and drop your file(s) into the Attach file window, or
- Click Browse to locate the file on your computer.
From within the job,
- Click the Upload file icon towards the top left of the job

- Click Add document

- Drag and drop your file(s) into the Attach file window, or
- Click Browse to locate the file(s) on your computer.
See also
For more information on uploading images and attachments, see
